Welcome to TagTube!
This guide will walk you through getting started in just 3 easy steps.
Step 1: Load your YouTube subscriptions
Start by signing in with your Google account to load your YouTube subscriptions in TagTube.
Click the Extensions icon ![]() on Chrome toolbar to view your installed extensions. Locate the TagTube icon
on Chrome toolbar to view your installed extensions. Locate the TagTube icon
![]() , click it, and TagTube will open in your browser’s side panel. You’ll
see a sign-in page like the one shown below.
, click it, and TagTube will open in your browser’s side panel. You’ll
see a sign-in page like the one shown below.
Opera users: Please use the sidebar to open the TagTube. Opera does not support openning side panels from the toolbar.
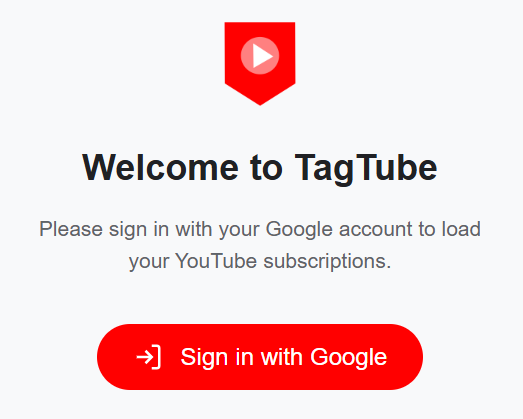
Click the 'Sign in with Google' button and follow the usual steps to log in.
Note: Make sure to check the box for 'View your YouTube account'.
About this permission: This allows TagTube to load your subscribed channels from YouTube. No permission is given to make any changes.
How the permission is used: TagTube only loads your subscriptions to let you organize them, and it never reads any other data like your watch history, etc.
Once signed in, you’ll see a page like the one below, with all your YouTube subscriptions loaded under the 'All' tag.
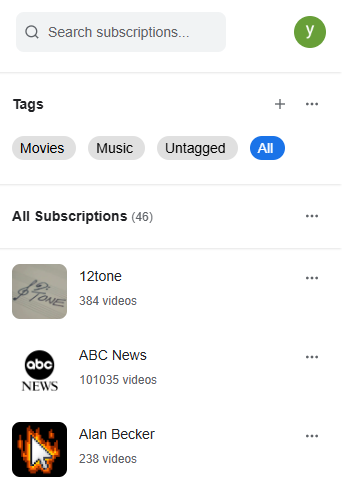
Step 2: Create your tags
TagTube let you organize your subscriptions with your own tags! Each tag represents a topic, you can assign multiple tags/topics to a channel, and you can create as many tags as you want.
Creating tags is a breeze! Just click the ![]() icon in the Tags section, enter a name, and hit save. Watch the video below
for a quick demo.
icon in the Tags section, enter a name, and hit save. Watch the video below
for a quick demo.
Step 3: Tag your subscriptions
Here comes the fun part - tagging your subscriptions!
Start by clicking "Untagged" to view your channels that haven't been tagged yet. Browse the channle list and assign proper tags to each channel. Check out the quick demo video below to see how it works.
You can find your tagged channels under their respective tags - just switch to the tag to confirm everything looks right.
No need to tag everything at once! Feel free to take a break and come back to it whenever you're ready.
Awesome job! You're ready to dive in and organize your YouTube subscriptions with TagTube.
Haven't installed TagTube yet?
Get TagTube for ChromeInstall TagTube now and start organizing your subscriptions!