 TagTube
Welcome to TagTube!
This guide is for TagTube 1.2.7.8 and later. If TagTube asks you to sign in with Google, you have an earlier version: see the earlier guide.
This guide will walk you through getting started in just 3 easy steps.
Step 1: Load your YouTube subscriptions
TagTube reads your subscription list from YouTube in this browser. There is no account to create and nothing to sign in to - your tags are saved on this device.
Click the Extensions icon  on Chrome toolbar to view your installed extensions. Locate the TagTube icon
 , click it, and TagTube will open in your browser’s side panel. You’ll
see a welcome page like the one shown below.
, click it, and TagTube will open in your browser’s side panel. You’ll
see a welcome page like the one shown below.
Opera users: Please use the sidebar to open the TagTube. Opera does not support openning side panels from the toolbar.
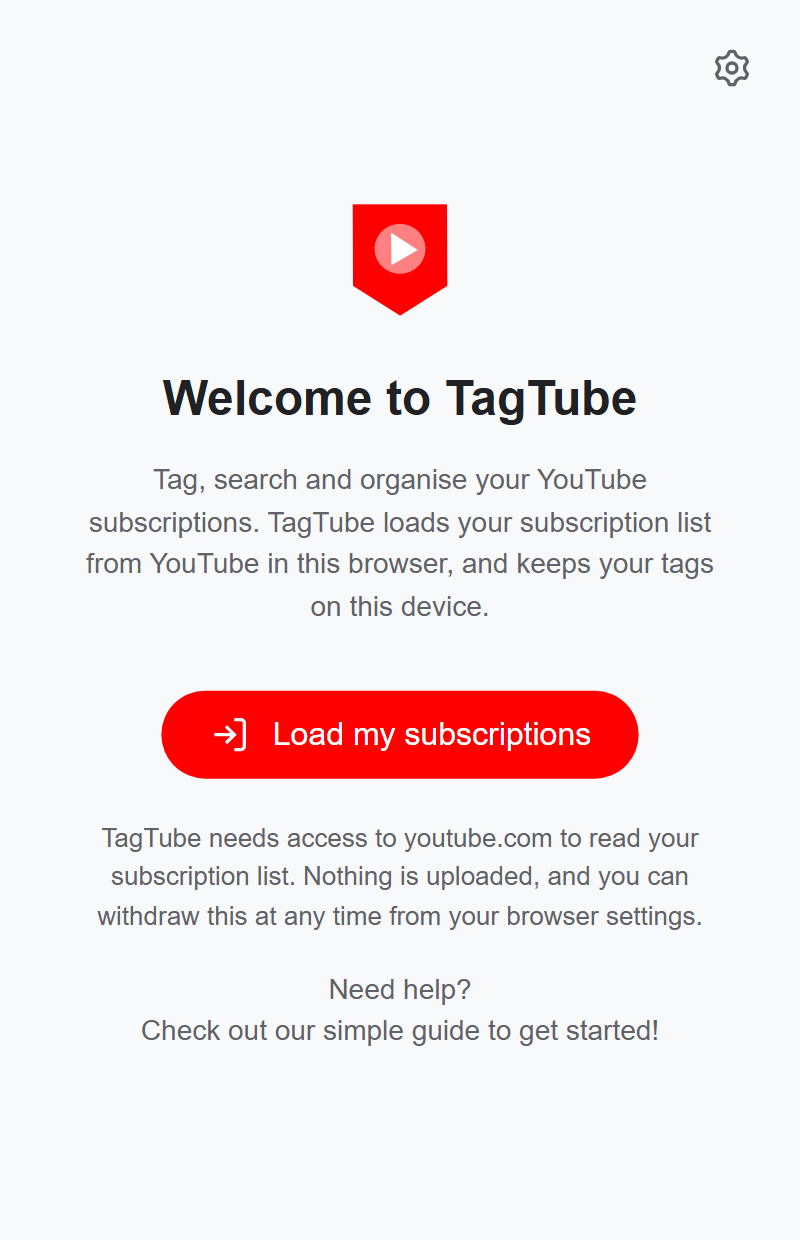
Click Load my subscriptions. Chrome will ask whether to let TagTube access youtube.com. This is your browser’s own permission prompt - not a Google sign-in, and there is no password to enter. Choose Allow.
About this permission: access to youtube.com is what lets TagTube read your subscription list from your YouTube subscriptions page. It is never used to change anything on YouTube, and it does not touch your watch history or anything else in your account.
You can change your mind: you can withdraw the access at any time from Chrome’s extension settings. And if you decline it now, TagTube still opens - you just won’t have your subscriptions yet, and can load them later from the side panel.
Once you allow it, TagTube opens your YouTube subscriptions page in a new tab and reads the list from it. A banner across the top tells you what is happening. For a large account it scrolls the page for a few seconds to reach the end of the list. When it is done, the tab counts down and closes itself - you don’t need to do anything.
Stay signed in to YouTube: TagTube reads your subscriptions page the same way you would, so you need to be signed in to YouTube in this browser. If that tab opens and your subscriptions aren’t on it, sign in to YouTube and use Load subscriptions in TagTube to try again.
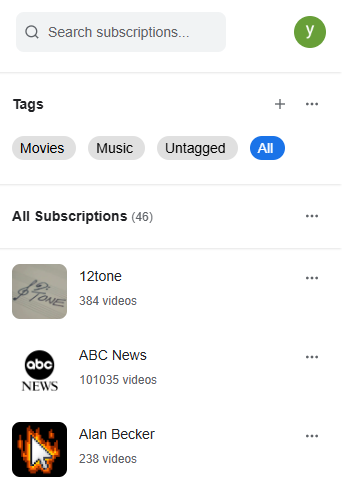
Back in the side panel, you’ll see a page like the one below, with all your YouTube subscriptions loaded under the 'All' tag.
Step 2: Create your tags
TagTube let you organize your subscriptions with your own tags! Each tag represents a topic, you can assign multiple tags/topics to a channel, and you can create as many tags as you want.
Creating tags is a breeze! Just click the  icon in the Tags section, enter a name, and hit save. Watch the video below
for a quick demo.
icon in the Tags section, enter a name, and hit save. Watch the video below
for a quick demo.
Step 3: Tag your subscriptions
Here comes the fun part - tagging your subscriptions!
Start by clicking "Untagged" to view your channels that haven't been tagged yet. Browse the channle list and assign proper tags to each channel. Check out the quick demo video below to see how it works.
You can find your tagged channels under their respective tags - just switch to the tag to confirm everything looks right.
No need to tag everything at once! Feel free to take a break and come back to it whenever you're ready.
Keep a backup of your tags
Your tags are stored in this browser, on this computer - not on a server. Nobody else can see them, and they stay put when you sign out of YouTube. It also means that clearing your browser data, or moving to a new computer, takes them with it.
Once you have tagged a few channels, open TagTube’s Options page and use Save a backup to download a copy you keep. On another browser or a new computer, Restore from a backup brings those tags back.
Awesome job! You're ready to dive in and organize your YouTube subscriptions with TagTube.
Haven't installed TagTube yet?
Get TagTube for ChromeInstall TagTube now and start organizing your subscriptions!